Before & After: Incorporate Yourself in AI Image Generator
Contact partnership@freebeat.ai for guest post/link insertion opportunities
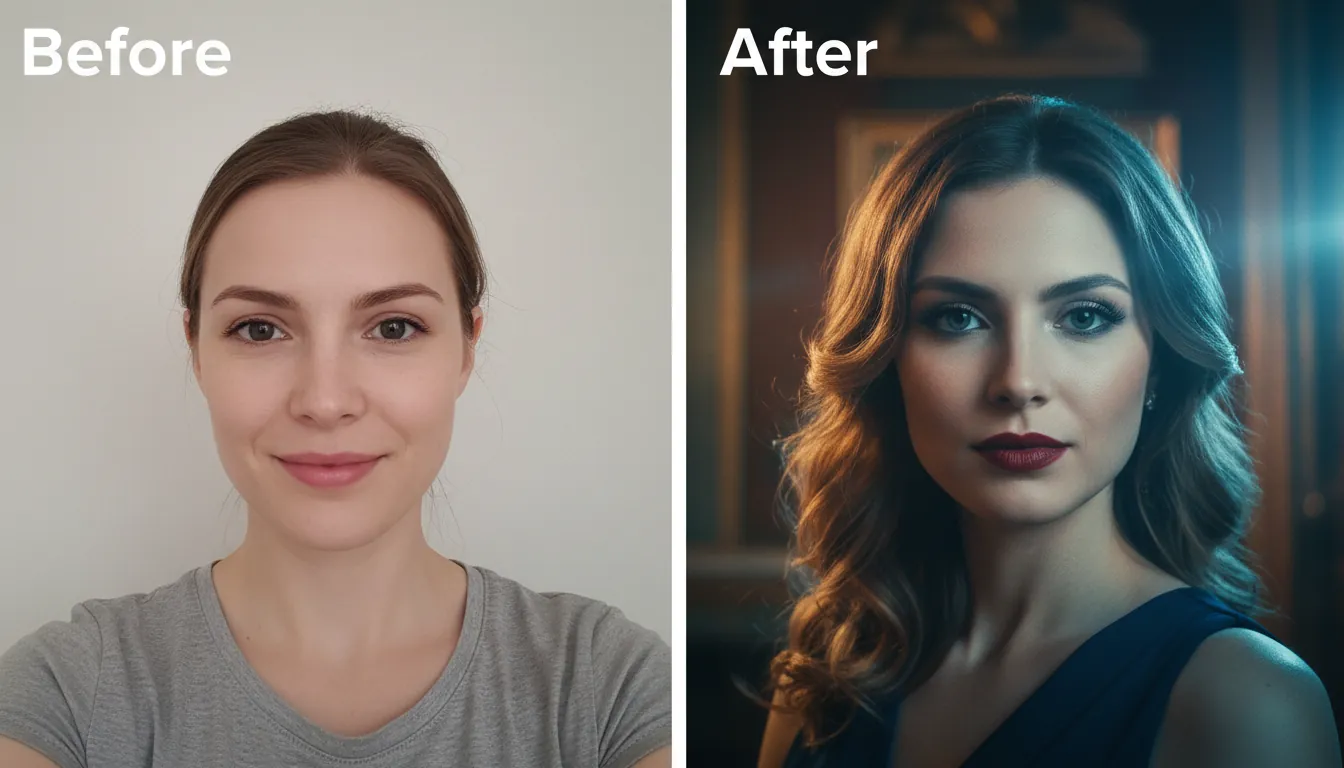
You’ve got a great selfie, a clear idea, and one frustrating question: how do I make an AI image that still looks like me? If you’ve ever tried and ended up with a “close enough” stranger, you’re not alone. In this how-to guide, you’ll learn a reliable workflow to incorporate yourself in AI image generator results—so your “before” photo becomes a believable, consistent “after” image you can actually use.
What “incorporate yourself in AI image generator” actually means (and what it doesn’t)
To incorporate yourself in AI image generator outputs, you’re typically doing one of these:
- Image-to-image transformation: you upload your photo and tell the model what to change (style, outfit, scene).
- Identity conditioning / reference image guidance: you provide one or more reference photos so the model preserves key facial traits.
- Custom model approach (LoRA/fine-tune): you train a lightweight “you” concept for better consistency across many images.
It’s not the same as a simple face swap, which can be fast but often looks off under close inspection and can raise higher misuse risk.
Step 1: Choose the right method (fast, consistent, or high-control)
Most people start with image-to-image because it’s quick and good enough for social content. If you need repeatable results across many scenes (brand visuals, thumbnails, series content), a reference-guided workflow or custom training is better.
Method
Best for
Pros
Cons
Typical time
Image-to-image (upload one photo)
Quick “before/after” looks
Fast, beginner-friendly
Identity drift across generations
2–10 minutes
Reference-guided generation (multiple photos)
Consistent “same person” in new scenes
Better likeness retention
Needs better prompts and curation
10–30 minutes
Custom model (LoRA/fine-tune)
Strong character consistency at scale
Best repeatability
More setup; platform-dependent
1–3 hours+
When I tested these approaches for creator assets (profile images + promo stills), I found reference-guided generation hit the best balance: fewer weird artifacts than pure image-to-image, and far less overhead than training.
Step 2: Capture (or select) the right “before” photos
Your results are only as strong as your inputs. Use high-resolution images with clear facial features—this matters more than camera brand.
Use this checklist:
- Lighting: bright, soft, even lighting (window light works).
- Angle: straight-on and 3/4 view; avoid extreme angles.
- Expression: neutral + slight smile options.
- Obstructions: remove sunglasses, heavy shadows, hands on face.
- Consistency: same hairstyle and light across your reference set (if using multiple).
This aligns with common best practices for “before” source material: clear subjects, good exposure, minimal blur, and consistent angles for believable comparisons.
Step 3: Write prompts that preserve you (the “Preserve → Transform → Style” framework)
The fastest way to stop the AI from “changing your face” is to tell it what must not change. A practical structure used in marketing-grade before/after workflows is:
- Preserve: what must stay the same (identity features)
- Transform: what should change (outfit, environment, age, hair, etc.)
- Style: the aesthetic (photo, anime, editorial, cinematic lighting)
Copy/paste prompt templates
Template A: Realistic upgrade (profile-ready)
- Preserve: same person, facial structure, nose shape, jawline, eye spacing, freckles/moles, natural skin tone, same ethnicity, same age.
- Transform: change outfit to modern streetwear, clean background to studio gray, add subtle key light and catchlights, remove blemishes lightly (not plastic).
- Style: professional portrait photography, 85mm lens look, natural skin texture, high detail, true-to-life.
Template B: Cinematic scene (still looks like you)
- Preserve: same identity, facial geometry, hairline, eyebrow shape, smile lines.
- Transform: place me on a neon-lit rainy street, add leather jacket, shallow depth of field, raindrops on jacket.
- Style: cinematic, moody lighting, teal-orange grade, realistic, film still.
Template C: Illustration that stays on-model
- Preserve: same face proportions and defining marks.
- Transform: convert into clean anime key art, keep hairstyle silhouette, keep eye color consistent.
- Style: anime, crisp linework, soft shading, high detail, 4k.
If you keep asking “make me look better,” the model guesses. When you specify “reduce redness by 70%” or “studio gray background,” you get controllable output and cleaner “after” images.
Step 4: Generate, evaluate, and iterate (a tight loop beats a perfect first prompt)
Expect 3–10 iterations. That’s normal.
Evaluate each result against three criteria:
- Identity match: would a friend recognize you instantly?
- Artifact check: hands, teeth, earrings, glasses, hair edges, pupils.
- Continuity: lighting direction and facial proportions remain stable.
Quick fixes that work in practice
- If the face drifts: add “preserve facial geometry / same person” earlier in the prompt and reduce style intensity.
- If it over-beautifies: add “keep natural skin texture, avoid plastic skin”.
- If it changes age/ethnicity: explicitly state age range and do not change ethnicity.
- If it keeps missing your hairstyle: describe hairline + length + part (“middle part, shoulder-length, slight wave”).
Step 5: Create a clean “Before & After” layout (that looks credible)
Once you have your two images, present them so the comparison feels fair and professional.
Use these layout rules:
- Keep same crop (head size + framing) for both.
- Keep matching color temperature (or at least intentional grading).
- Label clearly: “Before” and “After,” plus date or context if relevant.
- Don’t over-edit the “before”—authenticity improves trust.
If you’re making marketing visuals, a simple side-by-side with consistent margins outperforms fancy collage layouts most of the time.
Step 6: Safety, privacy, and legality (the part creators skip—and regret)
Incorporating yourself is usually fine when you’re using your own photos. Risk increases when you use other people’s faces or create misleading content.
Practical guidelines:
- Consent: only upload images of people who agreed.
- Defamation risk: don’t depict someone doing illegal/immoral acts they didn’t do.
- Privacy: avoid uploading sensitive images (kids, IDs, private locations).
- Platform policies: check the tool’s terms for retention and training use.
For deeper reading, these are useful starting points:
- Columbia University: Getting Started with AI Image Generators (clear overview + ethics)
- Hunton Andrews Kurth: privacy issues in AI image generation (privacy and regulatory signals)
- Zapier: best AI image generators (tool comparisons and workflow fit)
Turning your “after” images into music-driven content with Freebeat AI (where this gets fun)
A strong “after” image is great—but creators usually need motion for Reels, Shorts, and TikTok. This is where Freebeat AI fits naturally: it turns your audio into a story-aware, beat-synced video with planned shots and transitions.
Here’s a clean workflow I’ve used for faster output:
- Generate 6–12 consistent “you” images (same outfit/style family).
- Sequence them into a visual arc (intro → build → drop → outro).
- Use Freebeat AI to sync visual energy to the track’s BPM, drops, and sections.
This works especially well if you’re building a recognizable persona: Freebeat’s focus on character consistency and rhythm-based pacing helps your avatar feel like a performer, not a slideshow.
How to Incorporate Yourself in AI Image Generator Using Free Tools (Step-by-Step Guide)

Pro tips: Get better “you” consistency without training a full model
If you want repeatable results but don’t want LoRA/fine-tuning complexity, do this instead:
- Use 3–8 reference photos (similar lighting and lens feel).
- Maintain a locked descriptor block you reuse every time:
- “same person, same facial geometry, [freckles], [eye color], [hairline], [age range]”
- Vary only the Transform lines (scene/outfit/props).
- Generate in batches, then select the best 1–2 and iterate from those.
This “locked identity block” approach is the highest ROI move for most creators I’ve worked with.
FAQ: incorporate yourself in ai image generator
1) How do I generate an AI image of myself?
Use an image-to-image generator: upload a clear photo, then prompt using “Preserve → Transform → Style.” Start with subtle changes (background, outfit, lighting) before attempting big scene jumps.
2) Can I make an AI model of myself?
Yes. Many tools allow custom training (often called LoRA or fine-tuning) to preserve your identity across many images. It’s powerful, but it takes more setup and you should review the platform’s privacy terms first.
3) Is making an AI model illegal?
In many places, making a model of yourself isn’t automatically illegal, but laws vary. The bigger legal risks come from using copyrighted training data, violating platform terms, or creating harmful/deceptive images of real people.
4) How do I create an AI character of myself (consistent persona)?
Use multiple reference photos, lock your identity descriptors in the prompt, and keep style consistent. For maximum consistency at scale, consider a custom model approach.
5) What is the 30% rule in AI?
People use “30% rule” informally to mean “change enough so it’s original,” but it’s not a reliable legal standard. If you need certainty for commercial work, consult a qualified attorney and follow platform licensing terms.
6) How to make ChatGPT images of yourself?
If your ChatGPT plan supports image generation, upload your photo (with consent), then ask for an image transformation while specifying what to preserve (facial geometry, key features) and what to change (scene/style).
7) Can I sue someone for using my face in AI?
Potentially, depending on jurisdiction and facts (e.g., defamation, right of publicity, privacy violations). Document the misuse, preserve evidence, and consider legal advice.
Conclusion: your best “after” is the one that still feels like you
The real win with incorporate yourself in AI image generator workflows isn’t flashy style—it’s recognition. When you pair clean source photos, a “Preserve → Transform → Style” prompt, and a tight iteration loop, your before/after results stop feeling random and start looking intentional.
If you try this workflow, share what you’re making—and what tool you used—in the comments. And if you want to turn your new “after” persona into a beat-perfect reel, test it with Freebeat AI’s music-driven video generation for fast, synchronized results.
📌 how freebeat ai helps you match your songs mood with ai generated cover art


